Image ConverterImage Tools
Converts images between JPG, PNG, WebP, AVIF, and ICO. ICO is a ZIP of icon sizes.
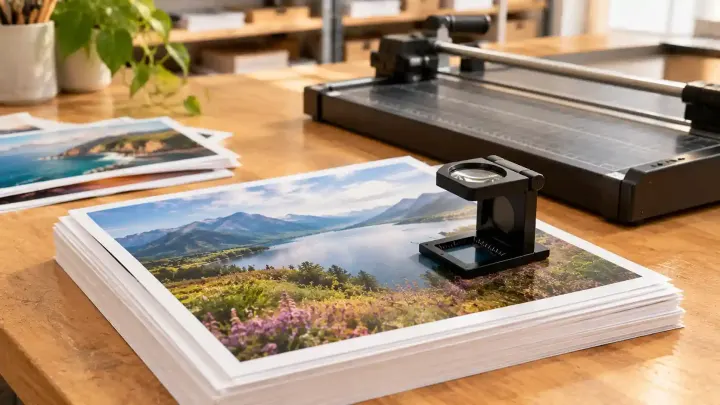
Print shops often send back files marked 72 DPI and ask for 300. Changing the number takes seconds, but it adds no detail, so check how large the pixels will really print.
DPI is a number stored inside a JPG or PNG. It tells printing software how many pixels to put in each inch of paper, and screens ignore it: a 1200 pixel wide image looks the same on a website whether the file says 72 or 300. Many apps still write 72 by default, an old setting from early Mac screens, which is why print shops see it so often.
Changing the number leaves the pixels alone. A 1600 × 1067 photo marked 72 DPI is meant to print at 22.22 × 14.82 inches. Marked 300 DPI, the same pixels print at 5.33 × 3.56 inches. A larger sharp print at 300 DPI needs a bigger original, and no setting can add the missing detail. Some files can't hold the number at all, because WebP and AVIF have no standard DPI field.
If the file is WebP or AVIF, convert it first with the Image Converter. Pick JPG or PNG under Convert to. The image is decoded and encoded again with a real encoder and keeps its exact width and height. A photo going to JPG is saved at quality 95, and PNG is lossless. Up to 20 images fit in one batch. HEIC photos only open in Safari.
Then add the JPG or PNG files to the Image DPI Converter and pick 300 from the list, or type any whole number from 1 to 65,535. Under each file it shows the DPI before and the print size at the new value, in inches and centimetres. Only the stored number changes: the JFIF density fields and the EXIF resolution in a JPG, or the pHYs chunk in a PNG. No pixel is resampled, so the file looks the same on screen. The download name ends with the new DPI, such as photo-300dpi.jpg.
No. Only the number in the file changes. The pixels, width, and height stay exactly the same.
Divide each side in pixels by 300 to get inches. An 1800 × 1200 photo prints at 6 × 4 inches.
Many apps write 72 by default. It doesn't change how the image looks on screen, only the print size software assumes.
No. WebP and AVIF have no standard DPI field. Convert the image to JPG or PNG first.
Tools used in this guide
Converts images between JPG, PNG, WebP, AVIF, and ICO. ICO is a ZIP of icon sizes.
Sets the DPI stored in JPG and PNG files and shows the print size.